

Tesla owners can perform DIY premium paint repair on their vehicles using the right tools and knowledge of Tesla's multi-layer coatings. Ensure you have essential materials like Tesla-specific paint, sandpaper, applicators, and a polishing cloth. Prepare the damaged area, apply primer, mix and apply paint precisely, dry, inspect, touch up imperfections, and finish with clear coat for perfect matching. Avoid costly professional services and preserve your Tesla's original beauty.
Thinking of fixing your Tesla’s scratched or dented premium paint at home? This comprehensive guide empowers you with the knowledge to tackle common issues efficiently. Learn how to identify distinct Tesla premium paint problems and prepare for a successful DIY repair. Gather the essential tools and materials, then follow our simple step-by-step process for a seamless restoration. Achieve professional-looking results on your Tesla from the comfort of your home.
- Understanding Tesla Premium Paint Issues at Home
- Gather Tools and Materials for Repair
- Step-by-Step Guide to Efficient Fix
Understanding Tesla Premium Paint Issues at Home
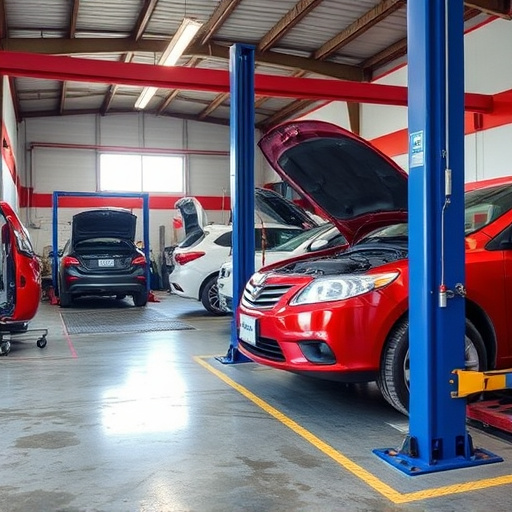
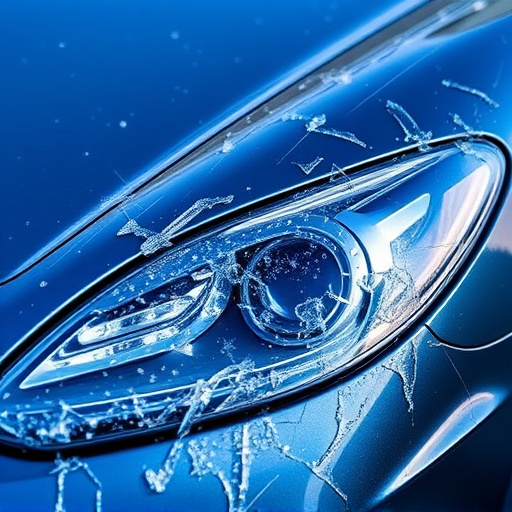
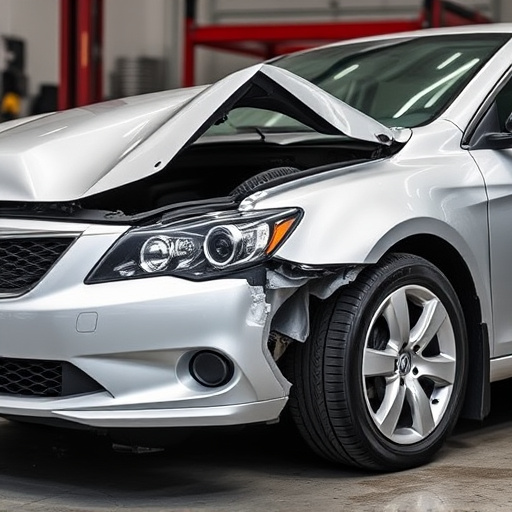
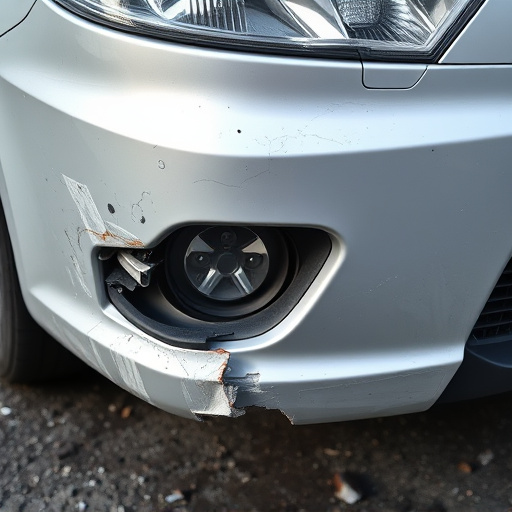
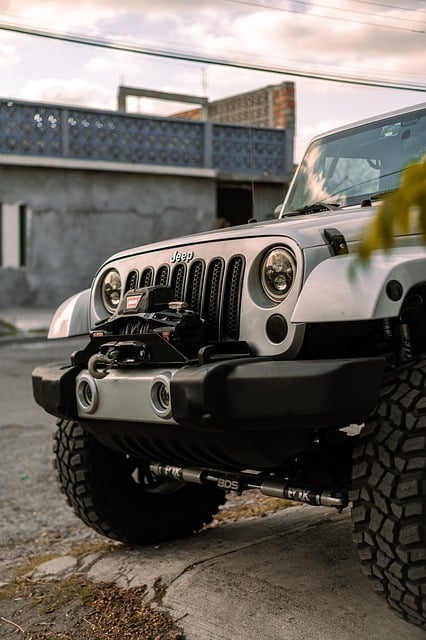
Many Tesla owners pride themselves on keeping their vehicles in pristine condition, and a key aspect of this is maintaining the premium paint job that sets Tesla cars apart. However, even with meticulous care, issues can arise. From minor scratches to more significant chip damage, these defects not only affect the aesthetics but also the overall value of your Tesla. The good news is that many common Tesla premium paint repair tasks can be accomplished at home, allowing you to take control of your vehicle’s upkeep.
Understanding the unique challenges of Tesla premium paint requires a grasp of its multi-layer construction. Unlike traditional car paint jobs, Tesla uses advanced coatings designed for superior durability and protection against environmental factors. While this ensures your Tesla remains looking sleek and modern for years, it also means that repairs require specific techniques to match the original finish perfectly. With the right tools, knowledge, and a bit of patience, you can effectively address minor paint imperfections, ensuring your Tesla retains its premium appeal without the expense of a professional car body shop or car paint services.
Gather Tools and Materials for Repair
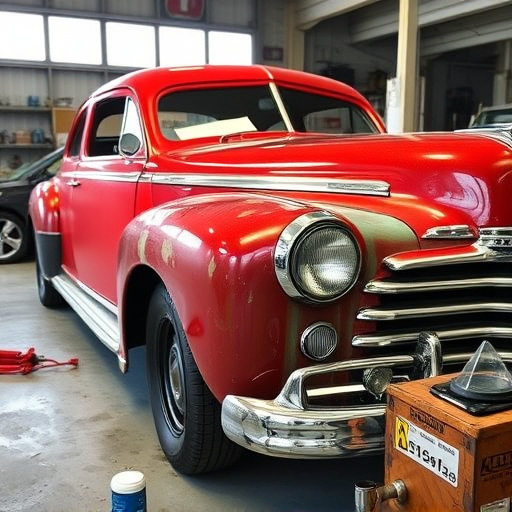
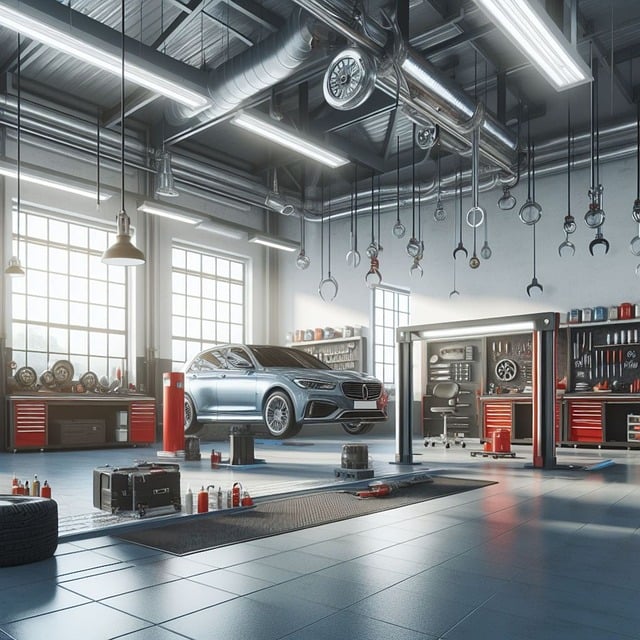
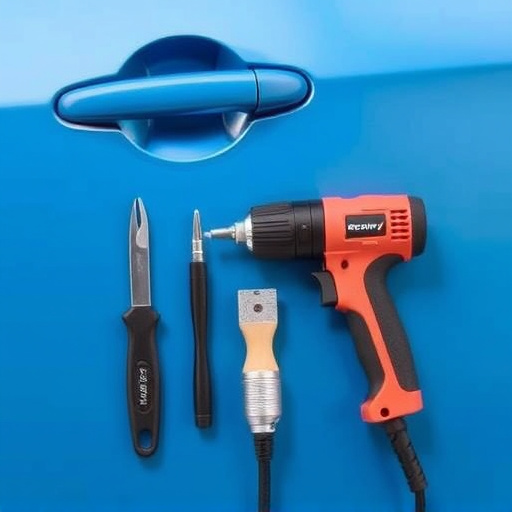
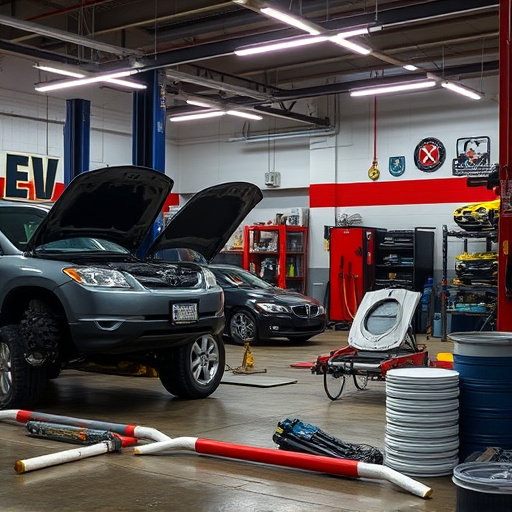
Before starting any Tesla premium paint repair at home, it’s crucial to gather all necessary tools and materials. This includes a high-quality paint matching your Tesla’s original finish, sandpaper (fine-grit for precise work), a paint applicator (like a foam roller or brush), tape for masking off surrounding areas, and a clean cloth for polishing. For more involved repairs, consider acquiring a heat gun to heat the damaged area, making the paint more pliable for easier application.
While many opt for professional collision centers or bumper repair services due to their expertise in complex collision repair, Tesla premium paint repair can be accomplished at home with the right preparation and materials. Avoid standard automotive paints; always choose Tesla-specific premium paint for a perfect match and durable finish. This DIY approach not only saves costs but also allows you to maintain control over the repair process, ensuring your Tesla retains its original beauty.
Step-by-Step Guide to Efficient Fix
Repairing your Tesla’s premium paint at home can save time and money while ensuring a factory-like finish. Here’s a step-by-step guide to help you achieve this:
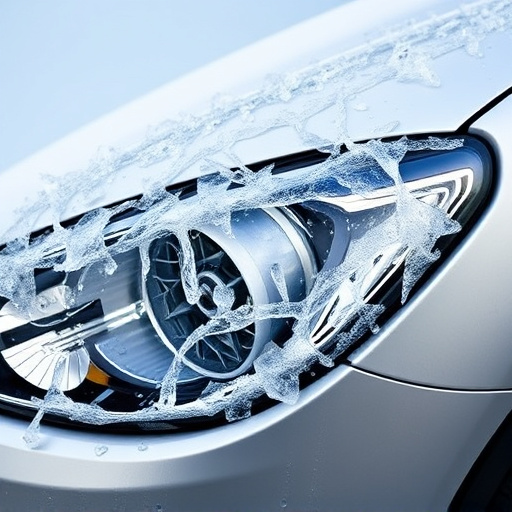
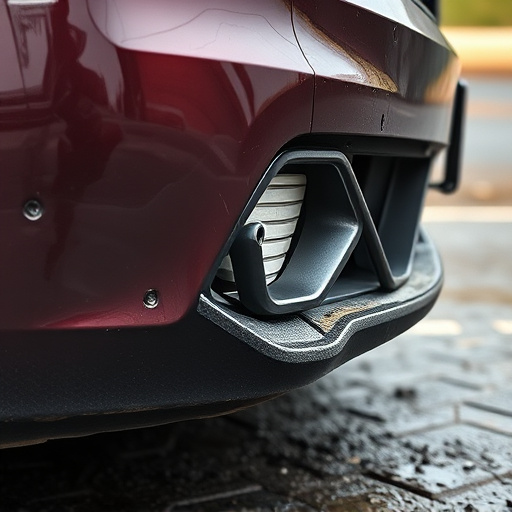
1. Prepare the Area: Start by washing and drying your vehicle thoroughly. Inspect the damaged area for any debris or loose paint. Use 2000-grit sandpaper to lightly sand the surface, ensuring it’s smooth and free of imperfections. Remove dust with a clean cloth before proceeding.
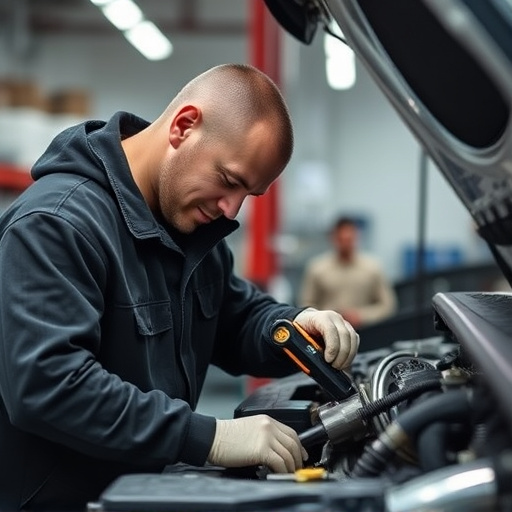
2. Apply Primer: Apply an auto body primer designed for Tesla premium paint repair. This step is crucial as it ensures adhesion between the repair and the existing paint. Use a thin layer and apply evenly using a spray gun or brush, following the product’s instructions for drying time. Repeat this process if necessary to achieve a smooth base.
3. Mix and Apply Paint: Mix your Tesla premium paint colour using an auto paint mixing system or follow the manufacturer’s guidelines. Ensure precise matching by comparing with your vehicle’s original paint. Use a high-quality paintbrush or spray gun for even application. Begin at a distance, then move closer for detailed work. Allow each coat to dry as recommended before applying the next.
4. Final Touches: Once the final coat is dry, inspect your repair job. If needed, touch up any imperfections with a fine-tipped brush or a small sanding block. Finally, apply a protective clear coat to seal and enhance the repair, matching the original finish perfectly.
Repairing Tesla’s premium paint at home is achievable with the right knowledge and tools. By understanding common issues and following a structured guide, you can efficiently address minor dents, scratches, or swirls, ensuring your vehicle retains its sleek appearance. With this DIY approach, you’ll save time and money while maintaining control over the repair process. Remember, proper care and regular maintenance will go a long way in preserving the quality of your Tesla’s paintwork.